Pipelines in Heroku are pretty awesome. This is how I went about setting up a Node.js app to have automated deployments for all pull requests, an automated deployment to the staging environment and a manual stage for promoting to the production environment. Pretty much a bread and butter pipeline. (This is an image heavy post)
Pre-requisites
- Existing Node.js app hosted in GitHub (it doesn’t need to be GitHub. Dropbox and local git repos are supported by Heroku but pipelines have special features for GitHub repos). Feel free to fork the node-js-getting-started repo I used.
- An Heroku account (obvs 😉).
Setting up the pipeline
An app for staging and review apps for pull requests
I started by creating a new app in Heroku. I named it
name-not-in-use-staging, note the end of the name i.e. -staging. I did this
to make it easier to recognise which app is which when I add them to the
pipeline:
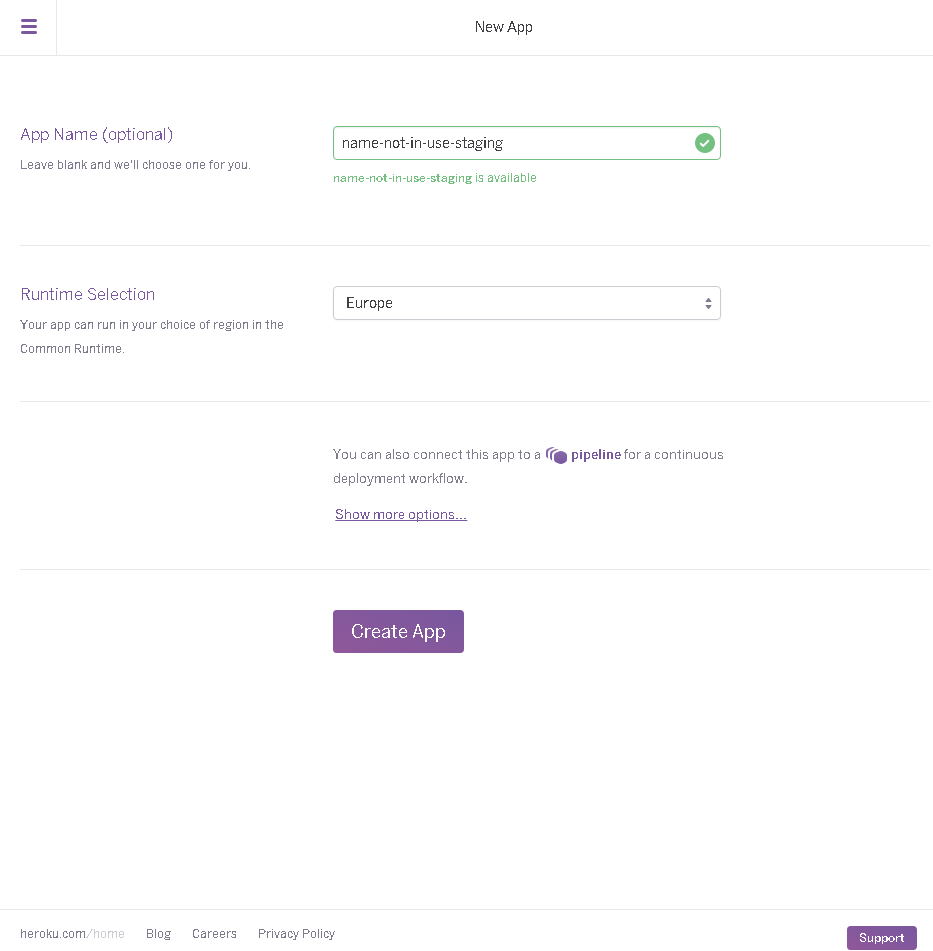
On the same screen I selected Show more options... so I could add the app to
a new pipeline. I named the pipeline pipeline-test and I assigned the app to
the staging slot:
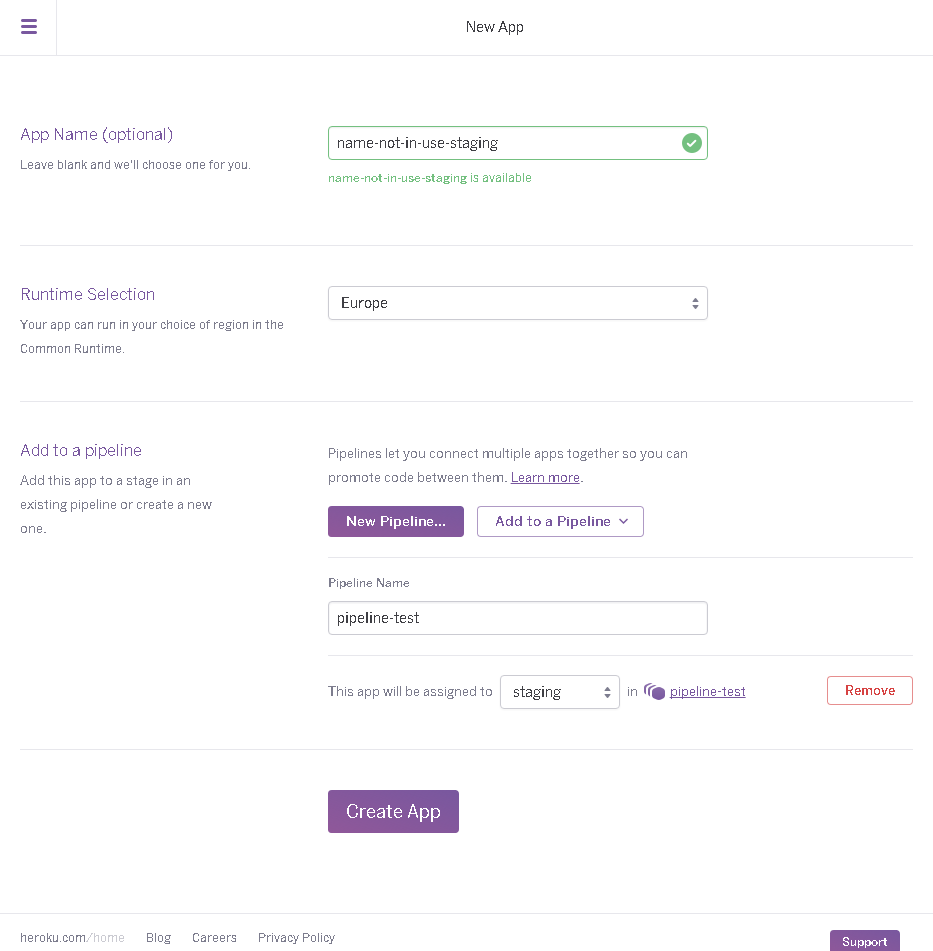
I then selected Create App which goes to this screen:
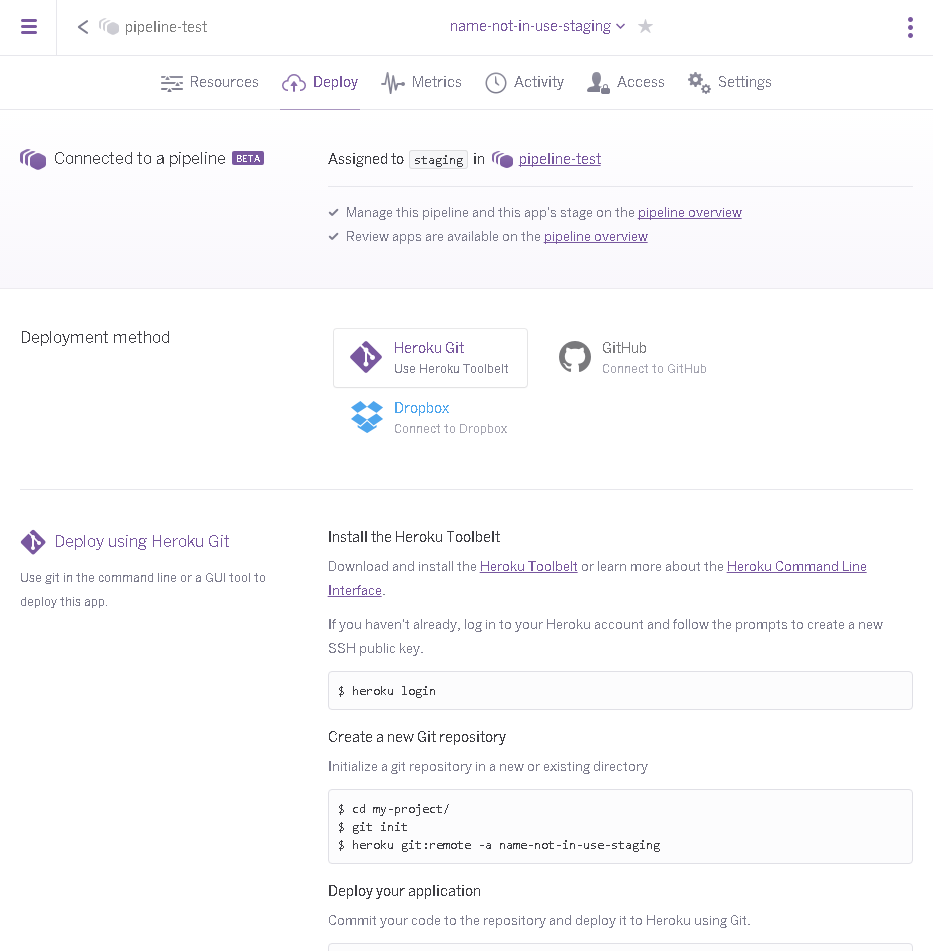
Note the deployment method section. I followed the instructions and connected
the app to my GitHub repo -
st3v3nhunt/node-js-getting-started.
I also opted for automatic deployments from the master branch, as seen below:
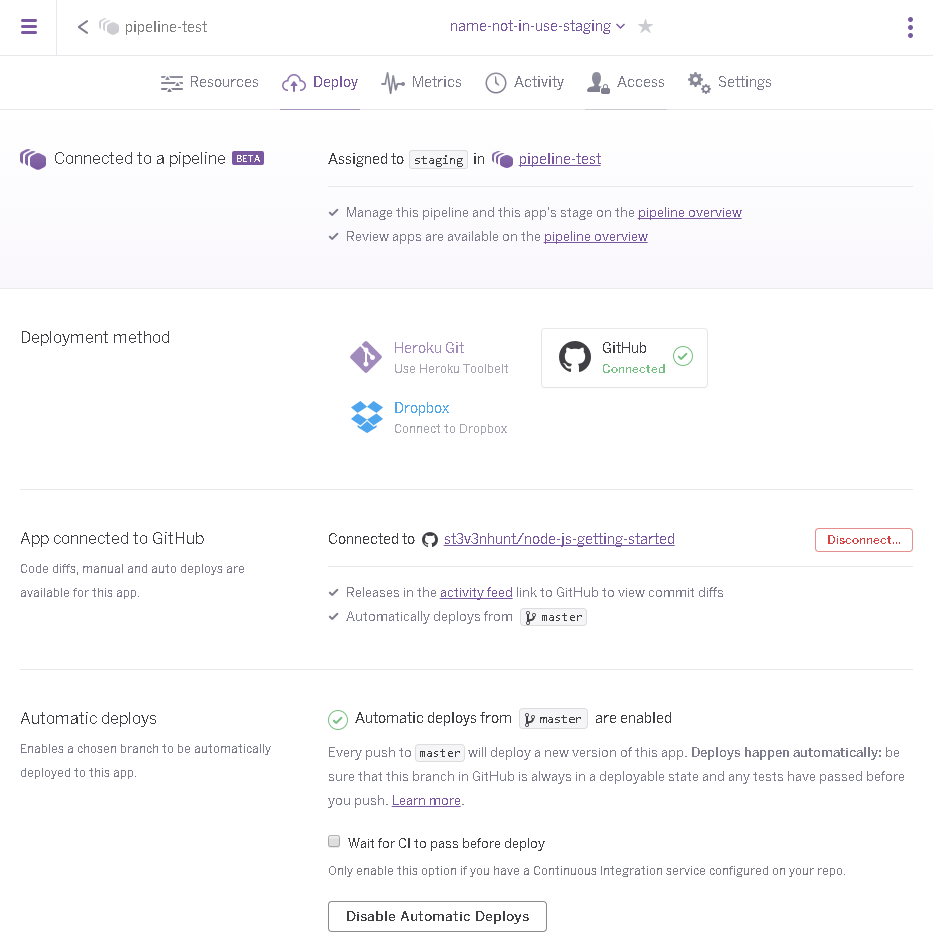
A little further down the screen there is the Review apps section. As this app is part of a pipeline, review apps are managed by the pipeline.
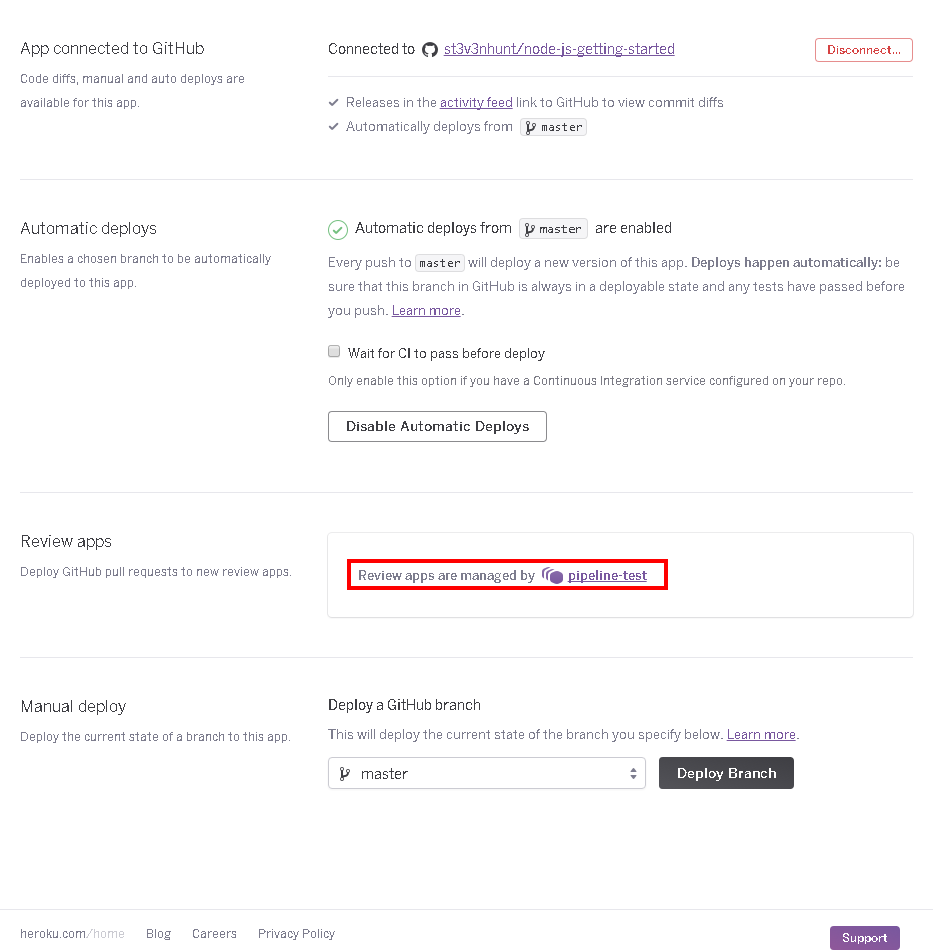
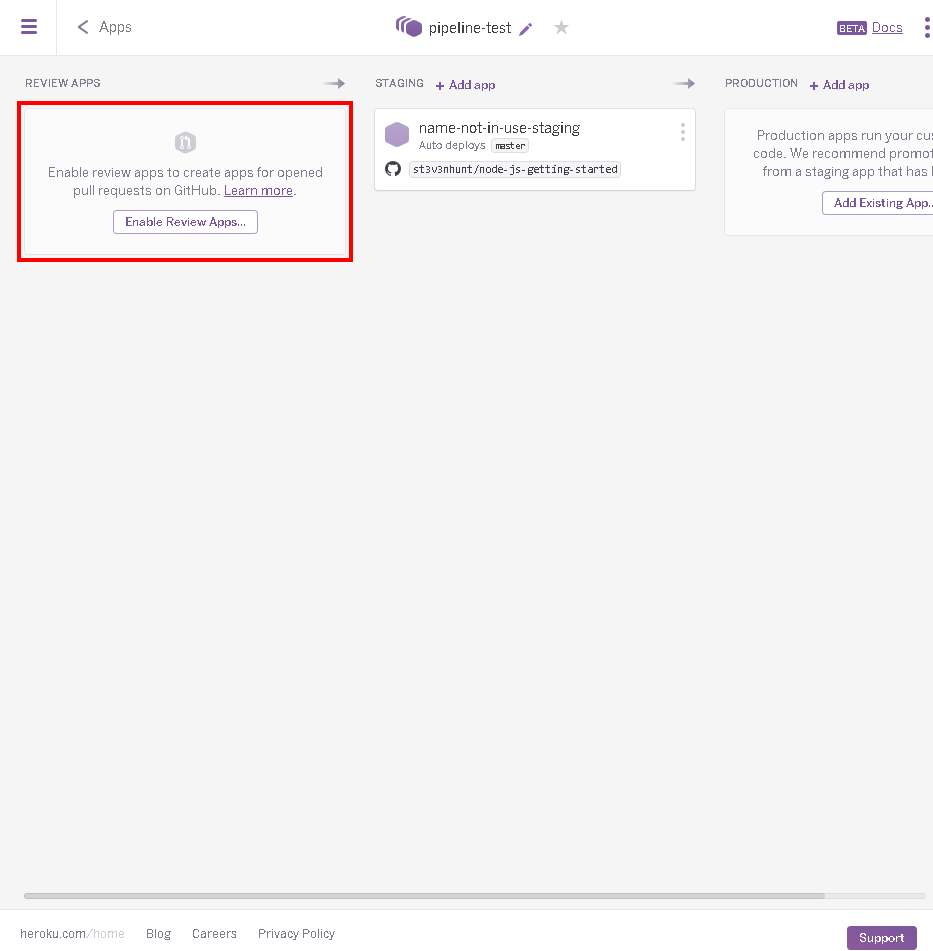
Following the link to manage review apps shows us the visualisation of the
pipeline for the first time:
It’s worth noting if your repository doesn’t include an app.json file you
will be prompted to create one for the configuration of review apps. The
default options will be sufficient for getting the pipeline up and running.
{: .notice}
Selecting to Enable Review Apps pops up this screen:

Where I opt for creating a review app for every pull request automatically.
When review apps are configured the pipeline will look like this:
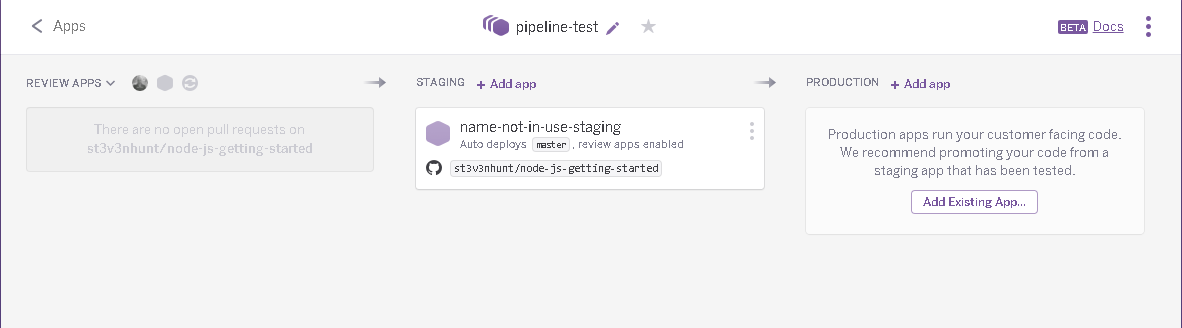
Note there is nothing in the production slot. Next I will go through what to do in order to make it possible to have your staging app be promoted to production.
Add an app for production
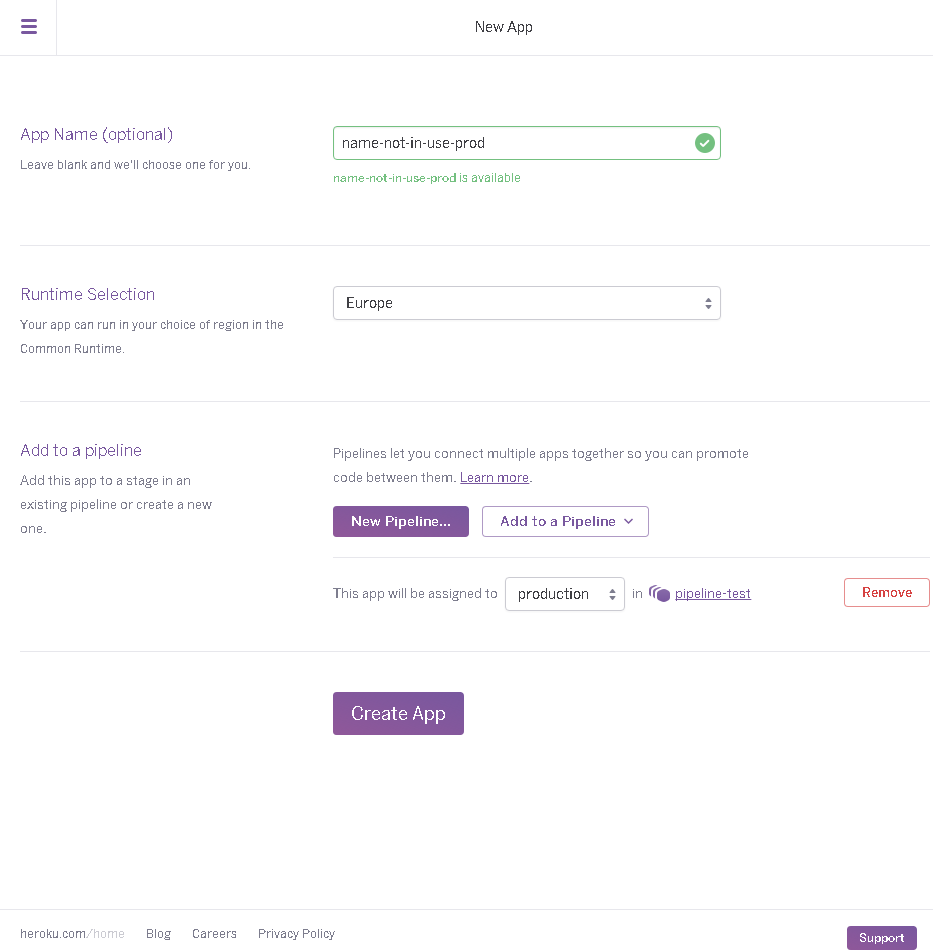
In order to have an app in production I need to create another app. In the
screen below, note how the name is appended with -prod. As with the staging
app, this is just a convention I use to help identify which app is which. In
this step I have assigned the app to the production slot within the pipeline.
The pipeline is now complete. It will look something like this:
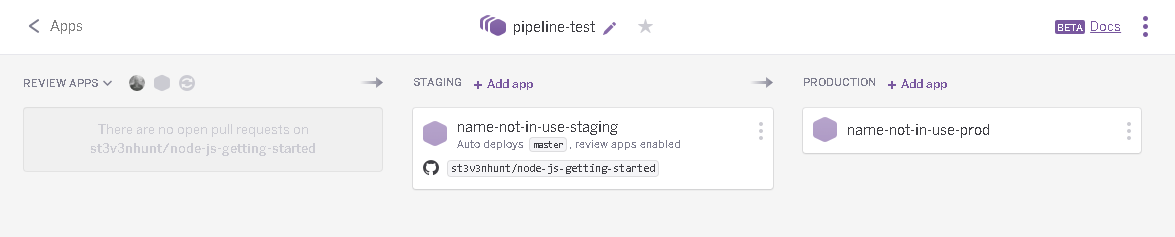
Pipeline in action
Over the next few screens I’ll show what happens to the pipeline as a pull request is created and flows through the application from being merged into master then promoted to production.
Pull requests are automatically deployed as part of the review apps functionality. The review app gives people involved in the pull request the opportunity to test the changes in an environment that is not where is was developed. No more ‘works on my machine’ cries! Not only is this good for providing an isolated test environment it also gets around problems that geographically dispersed people can find themselves in. I’ve had numerous occasions where the person I wanted to run through something with was not able to access my development machine. No more will that be a problem!

Once a pull request has been merged into master it will be automatically
deployed into the staging environment:
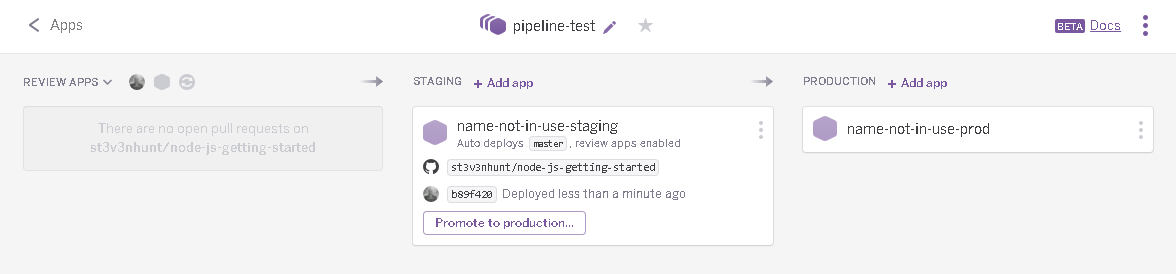
As seen in the screen above, there is now a button to promote to production.
Clicking on the ‘Promote to production…’ button pops up the promote screen:
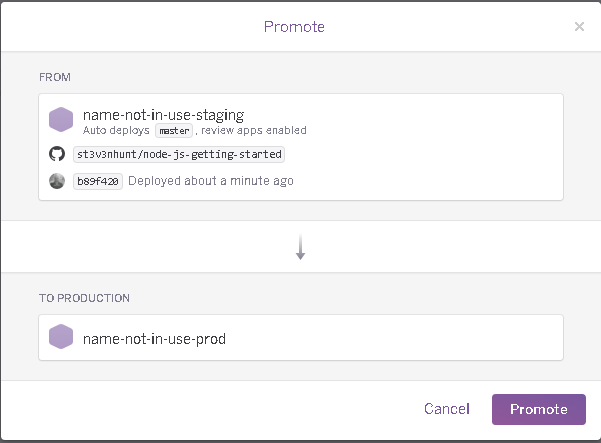
Simply selecting ‘Promote’ and when the changes have been promoted to
production this is what the pipeline will look like:
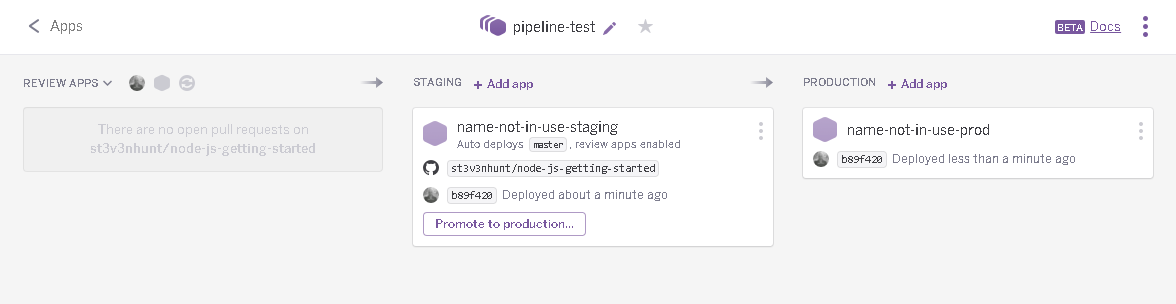
Additional pull requests will go through the same cycle.
Further reading
Clearly this is a simple setup. Hopefully it has shown just how easy it is to get a pipeline setup in Heroku.
There is a host of guides available on Heroku, the pipeline guide is good place to start if you are interested in finding out more.